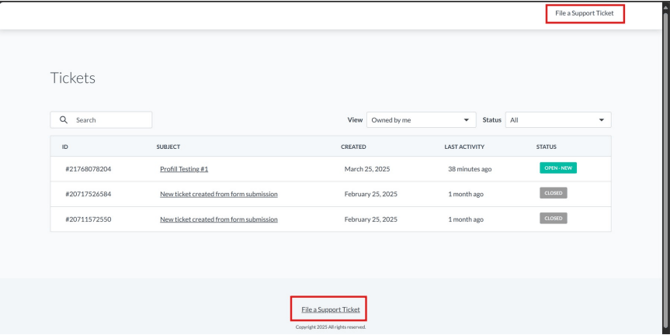
You can file a new ticket by clicking on the "File a Ticket" button located:
- At the bottom of the dashboard.
- At the top right corner of the portal.
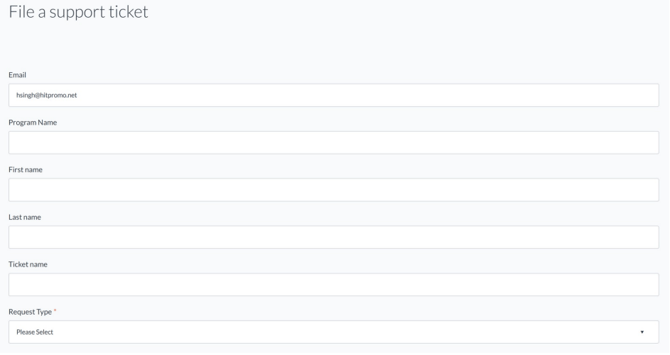
Ticket Form Fields
- Email – This field is auto-populated. Do not edit.
- Program Name
- First Name and Last Name
- Ticket Name
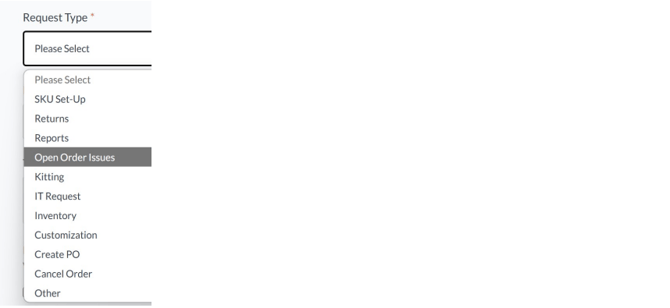
- Request Type – Select the most relevant request type from the dropdown. If your issue doesn’t match any listed type, choose 'Other', and an additional field will
appear for you to specify your request. The field is mandatory. - Priority – Choose one:
- Low
- Medium
- High
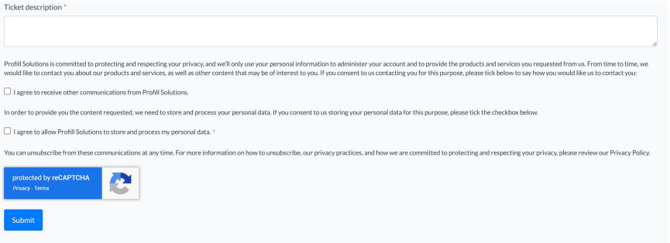
- Description – Clearly describe the issue in detail. This field is mandatory to ensure timely resolution
You can attach files to support your ticket. Supported formats include:
- Image files: JPEG, PNG
- Documents: PDF, Word
- Spreadsheets: Excel (.xls, .xlsx)
Note: Attach only relevant files to help the support team better understand and resolve your
issue.
After filling out all fields:
- Tick the checkbox to accept the consent form.
- Click Submit.
Post-Submission Actions
After submission, return to the Dashboard. New tickets may take a few minutes to appear.
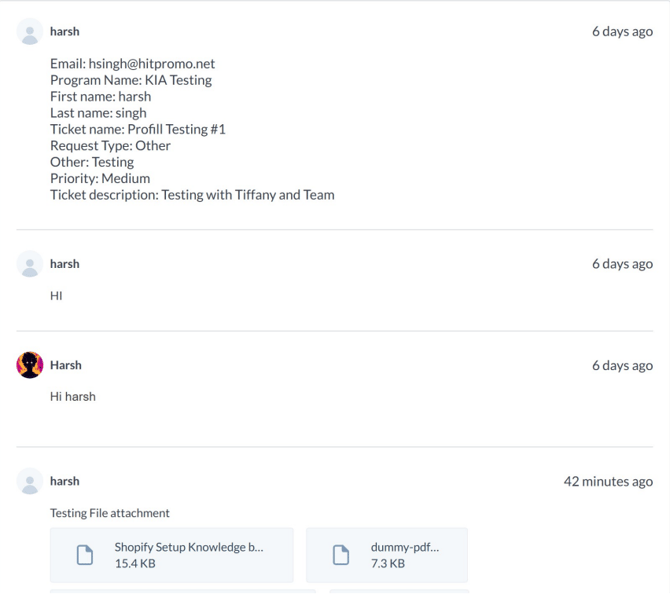
To follow up, click on a ticket from the dashboard to open the ticket thread. In the thread, you can:
- Chat with the assigned Account Manager
- Review the conversations
- Upload additional attachments if needed